Build and Execute
In just a few lines, we have created our first effect! All that remains now is to compile and run it.
Prerequisites
-
Resources loaded into memory from external QSPI FLASH – see How to Use FlasherLoader
-
The PC connects to the OSCAR/PENDA pedal either via an ST-link probe (for loading and debugging) or via a direct USB connection (for loading only in DFU mode) – see How to How to Program OSCAR/PENDA.
Compilation
Select the debug or release build configuration and start compiling the effect. The program should compile without errors. If it doesn’t, please review the tutorial and correct any omissions or typos :) 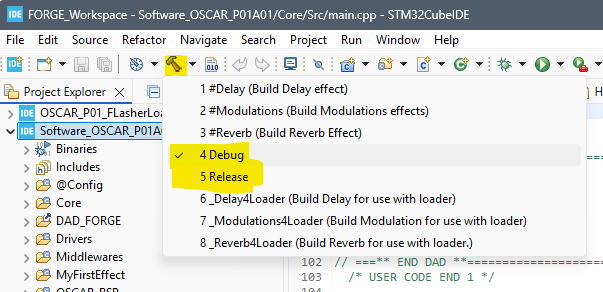
Run/Debug
Make sure you have flashed all necessary resources to the card’s QSPI flash memory.
*see How to Use FlasherLoader
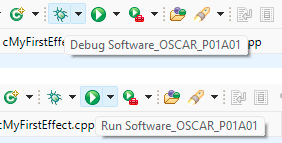
Then, launch the program in either debug or release mode.
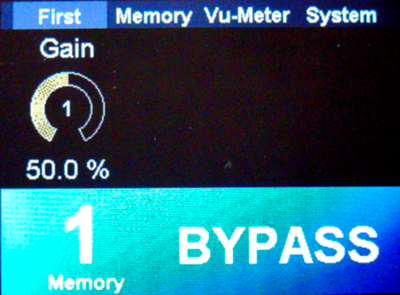
You now get to see your first GUI appear!
Your “First panel” displays the gain parameter. You can adjust it by turning Encoder 1.
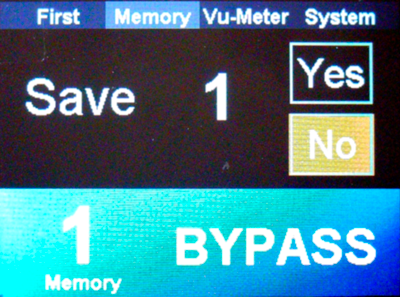
Three other panels were automatically created for you: Memory Panel
This allows you to save the value of your parameters (like the gain in our effect) into 10 different presets.
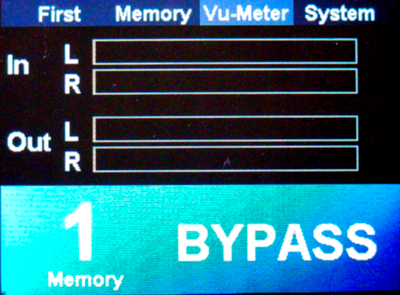
VU-Meter Panel
This panel displays the input and output signal, helping you optimally set your input level and visualize your wet (digital output) signal.
System Panel
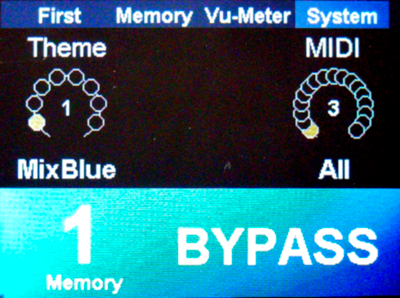
The System panel allows you to change the display theme and configure the MIDI channel being listened to.